Mold Preparation: Crafting the Cavity
After the meticulous creation of a pattern, the next step in the sand casting process is preparing the mold—a critical phase where the sand meets the design to create a negative space for the molten metal. This stage is all about precision and technique, ensuring that the final cast will be as close to the original design as possible. Let’s explore the intricacies of mold preparation, from the selection of sand to the creation of cores for internal cavities.
Technical Casting Terminology
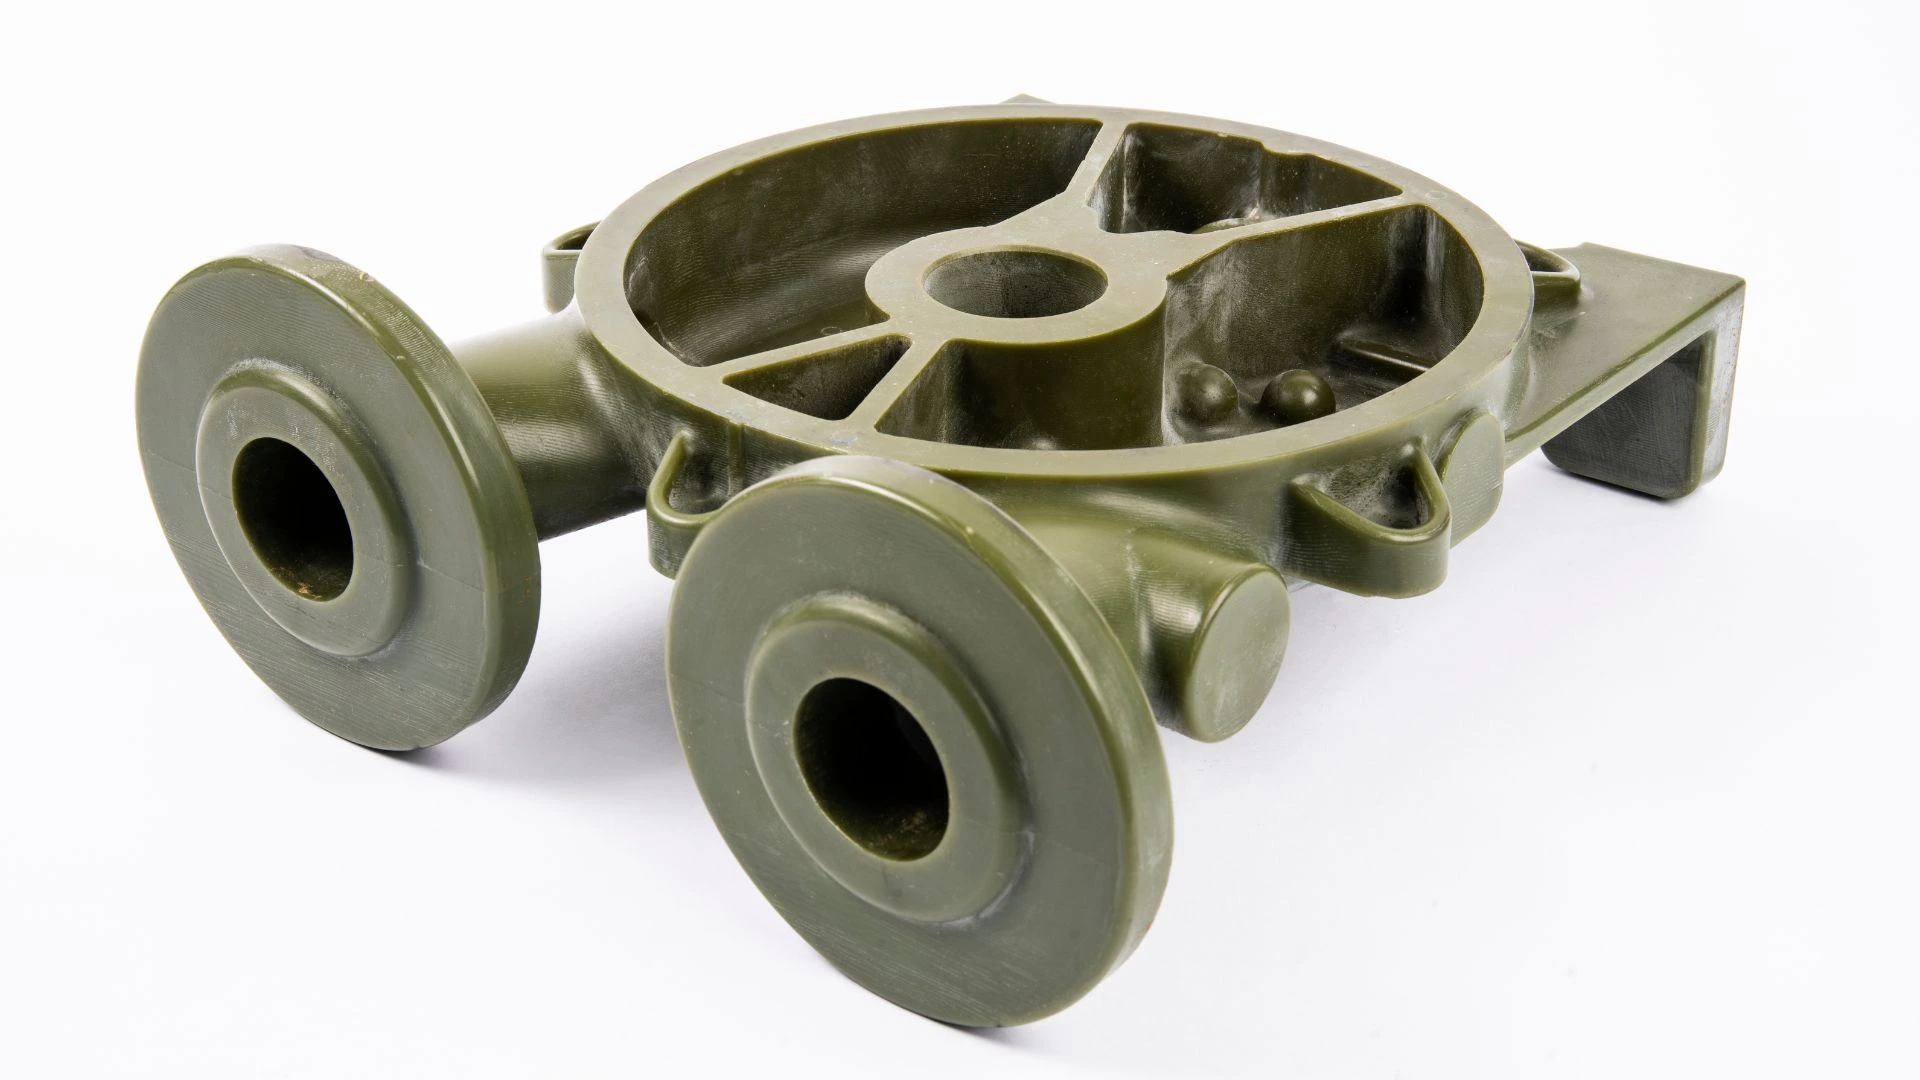
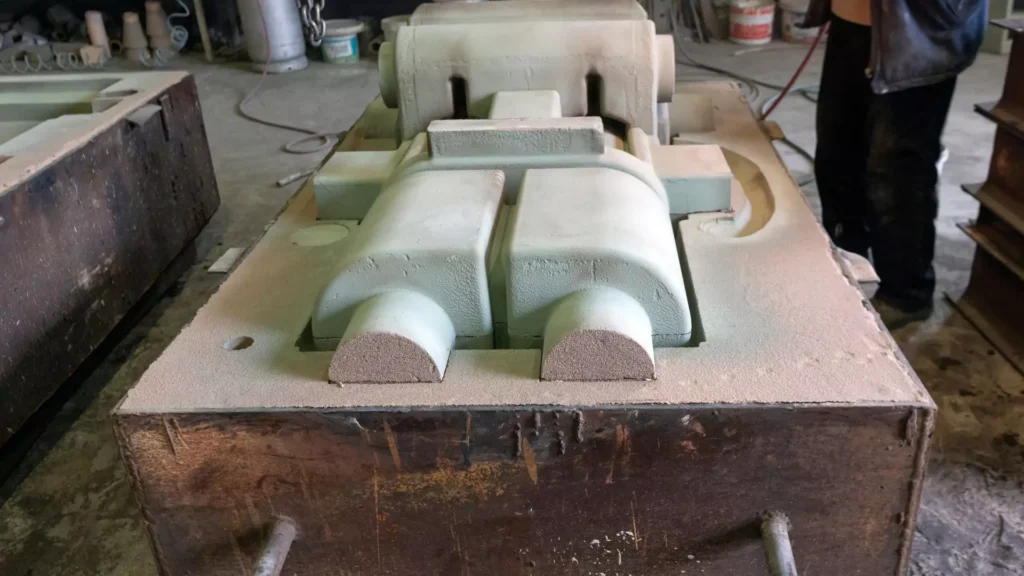
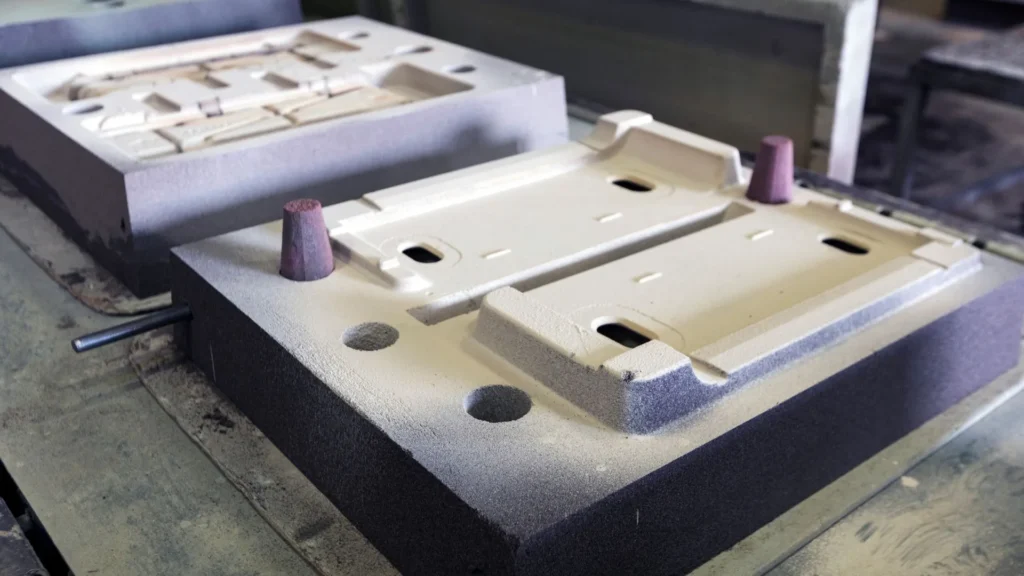
In sand casting, several technical terms define the mold-making and casting process. A casting mold is a cavity created from packed sand that forms the shape of the metal part to be cast. It consists of two main sections: the cope (top half) and drag (bottom half), which together enclose the mold cavity. Ramming refers to compacting sand tightly around the pattern to create a firm mold, ensuring the metal fills all details accurately. Swinging typically involves moving the mold or pattern into place during preparation or aligning mold sections before the pour. Understanding these terms helps explain the precise, detail-oriented nature of the sand casting process, ensuring quality and accuracy in the final product.
Introduction to Sand Types and Properties
The foundation of a good mold is the sand used to make it. The choice of sand significantly affects the mold’s quality, impacting the surface finish, dimensional accuracy, and strength of the final casting. Two of the most common types of sand used in casting are:
- Green Sand: A mixture of silica sand, clay (binder), and water, green sand is called so not because of its color but because it is ‘wet’ or ‘fresh’ when the mold is made. It’s reusable and suitable for a wide range of casting metals and sizes.
- Resin Sand: Enhanced with a resin binder instead of clay, resin sand provides higher strength and better dimensional accuracy. It’s often used for larger castings or when higher precision is required.
Each type of sand has its own set of properties—like permeability, cohesiveness, and thermal stability—that make it suitable for specific casting applications.
Types of Molds in Metal Casting
While sand casting is the most common method, understanding the full spectrum of mold types helps in selecting the right process for specific applications: -
Shell Molding: A specialized process using resin-coated sand that forms a thin, hard shell when heated. This method offers better dimensional accuracy than traditional sand casting and is ideal for smaller parts requiring precise details.
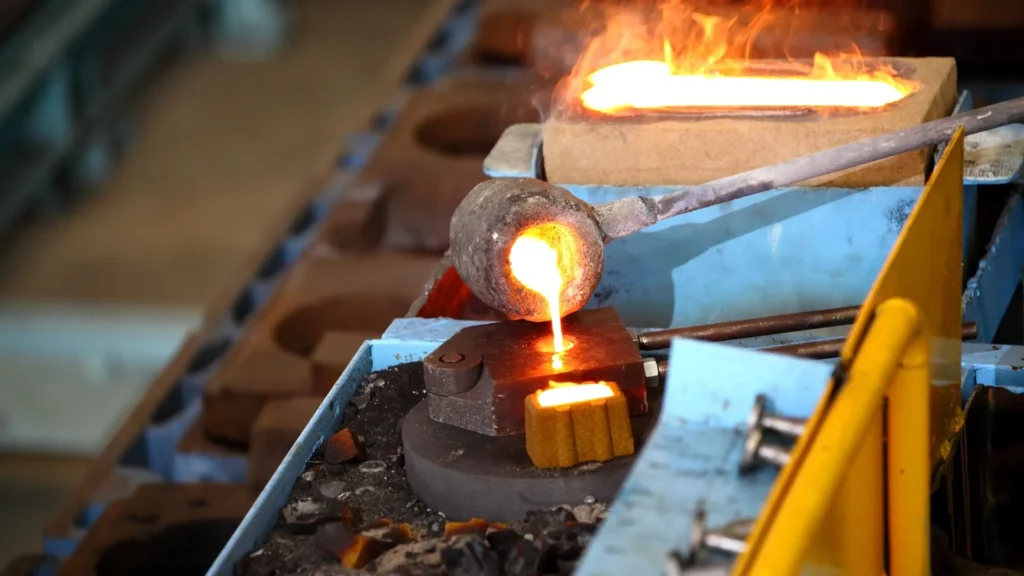
Investment Casting (Lost-Wax): Creates extremely accurate molds using a wax pattern coated with ceramic material. Once the ceramic hardens, the wax is melted out, leaving a precise cavity. -
For more information on what investment casting is and its processes check out our blog: https://alignmfg.co/all-about-investment-casting-process-materials-and-uses/
Full Mold/Foam Process: Uses expendable foam patterns that vaporize when molten metal is poured, offering unique advantages for complex geometries.

Mold Components: Cope and Drag
The sand mold consists of two primary parts: the cope (the top half) and the drag (the bottom half). These terms aren’t just jargon but signify the functionality of each part of the mold. The cope and drag work together to form the entire mold cavity, where the drag supports the weight and the cope contains the risers and gating system necessary for the metal to enter and gases to escape.
Critical Mold Features and Their Functions
A successful mold incorporates several essential elements: -
Gating System: The network of channels that guide molten metal into the mold cavity:
Pouring basin: Controls initial metal entry
Sprue: Main vertical channel
Runners: Horizontal distribution channels
Gates: Final entry points into the casting cavity
Risers: Reservoirs that feed additional metal to compensate for shrinkage during solidification
Open risers: Visible from outside the mold
Blind risers: Completely enclosed within the mold
- Vents: Strategic openings that allow gases to escape during pouring
The Process of Packing Sand Around the Pattern: Ramming and Compaction
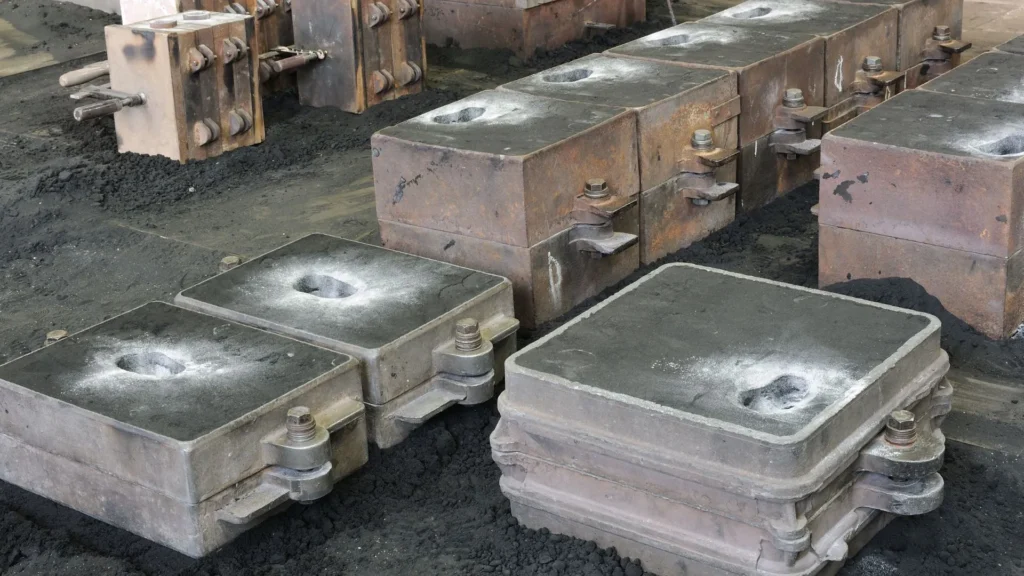
Creating a mold starts with placing the pattern in a mold box (flask) and then packing it with sand. The key to this step is ensuring the sand is compacted tightly around the pattern to capture every detail:
- Filling: The flask is filled with sand around the pattern. Special attention is paid to ensure the sand gets into all the crevices and details of the pattern.
- Ramming: The sand is compacted, or “rammed,” around the pattern, usually with a pneumatic rammer, to ensure it’s firm and there are no gaps.
- Removal: Once the sand has been sufficiently compacted, the pattern is carefully removed, leaving a cavity in the shape of the part to be cast.
This process might be repeated for both the cope and drag sections of the mold, depending on the complexity of the casting.
Core Making: Materials, Making, and Placement for Internal Cavities
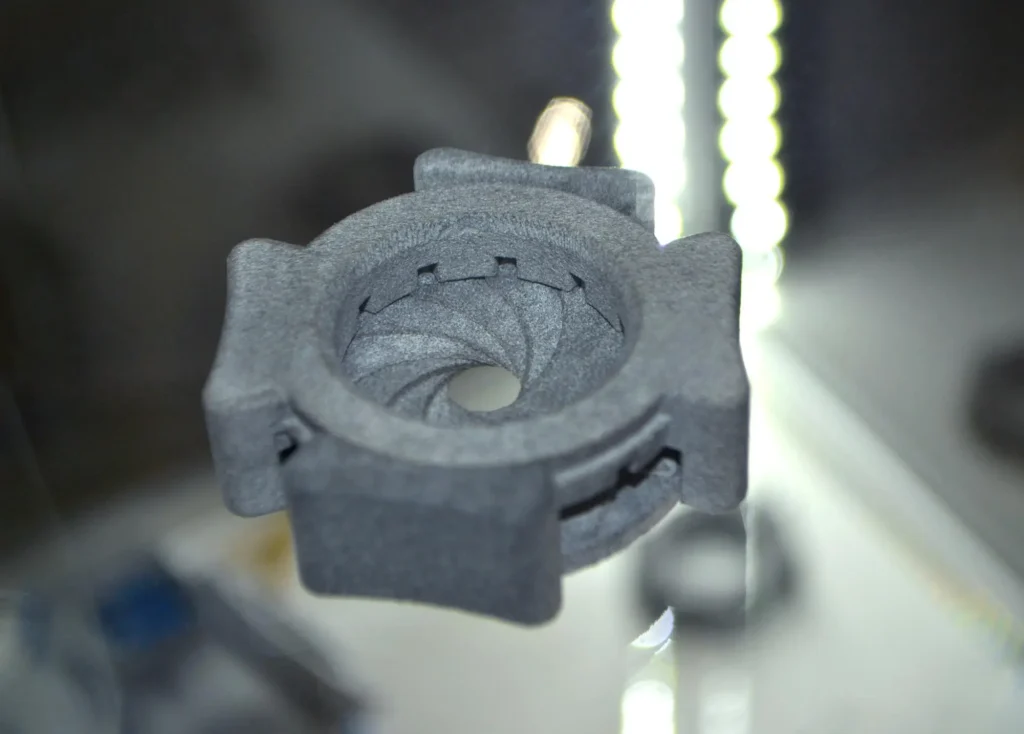
For castings that require internal cavities or complex geometries, cores are used. Cores are made from similar materials as the mold but are often strengthened with binders or other additives to maintain their shape under the pressure of molten metal:
- Materials: Core sand is selected based on the casting material and the required surface finish and strength of the core.
- Making: Cores are formed using a core box, similar to the pattern in mold making. The sand is packed into the core box and then hardened, usually with heat or chemical binders.
- Placement: Once hardened, the core is placed into the mold cavity before the mold is closed. It’s positioned so that, once the metal is poured, it will fill around the core, creating the desired internal structure
Quality Control in Mold Preparation
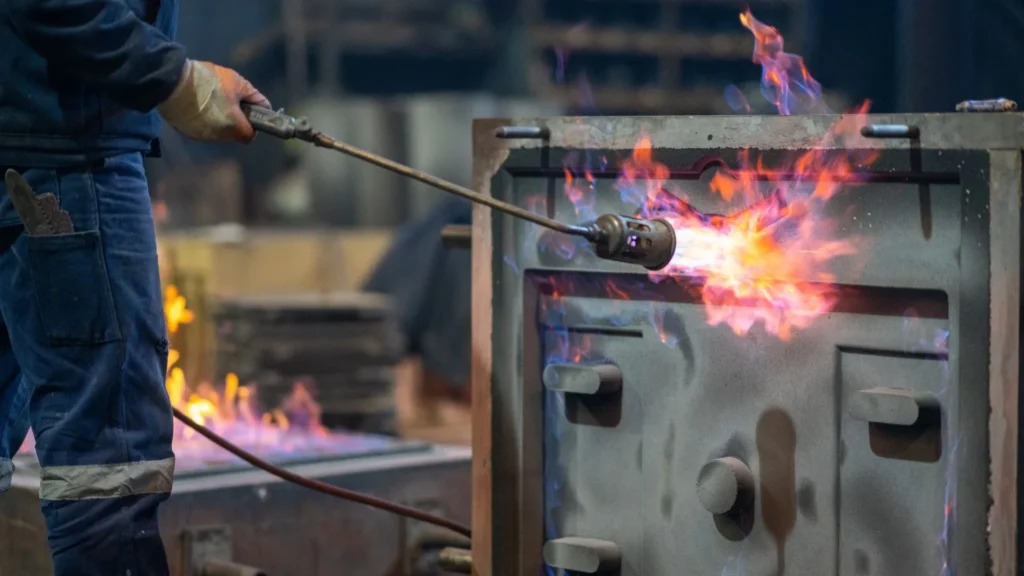
Ensuring mold quality is crucial for successful casting: -
Surface Finish Considerations:
- Sand grain size selection based on desired finish
- Proper compaction techniques to prevent surface defects
- Mold coating applications for improved finish
Common Defects and Prevention:
- Sand inclusions: Prevented through proper ramming
- Mold erosion: Controlled through optimal pouring speed
- Gas porosity: Addressed with adequate venting
Dimensional Control:
- Measuring and maintaining proper mold wall thickness
- Verifying core alignment and position
- Checking parting line accuracy
The Foundation of Successful Casting
Mold preparation stands as the cornerstone of quality metal casting, where every detail matters—from the initial selection of molding materials to the final quality checks. Whether using traditional green sand methods or advanced techniques like shell molding, success lies in the careful attention to each component: proper sand composition, precise pattern
placement, strategic gating systems, and accurate core positioning.
This meticulous approach to mold preparation not only ensures dimensional accuracy and surface quality but also sets the stage for the dramatic transformation of molten metal into finished castings that meet exact specifications. As foundry technology continues to evolve, these fundamental principles of mold preparation remain essential to the art and science of metal casting.
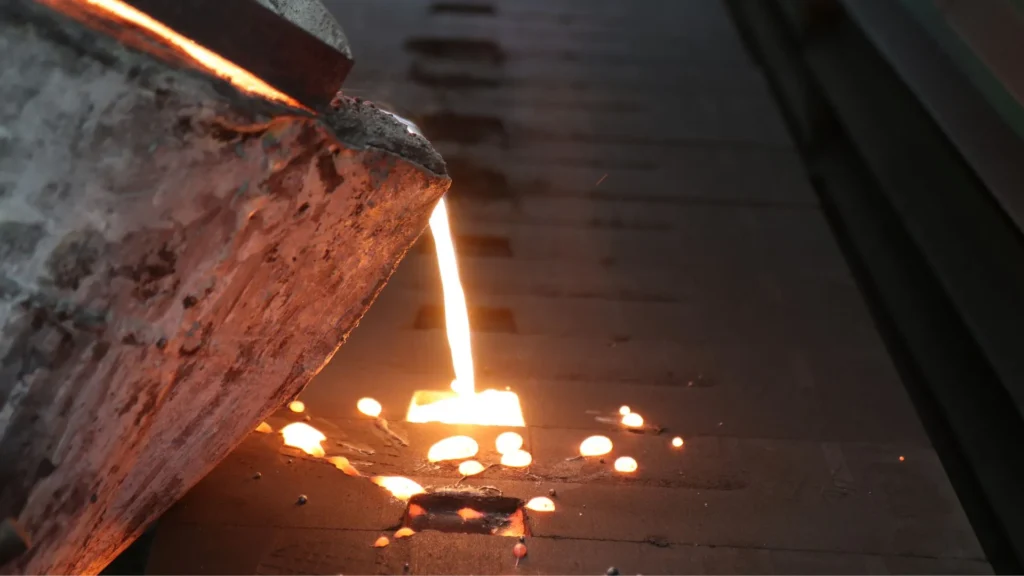
Choosing the right casting method requires careful evaluation of your project’s specifications. While ferrous metals are typically cast using expendable molds due to their high melting points, non-ferrous metals offer more versatility with processes like permanent or semi-permanent mold casting. Each project is unique, so understanding factors like part size, wall thickness, weight, and surface finish is essential for selecting the most efficient and cost-effective casting technique. Collaborating with an experienced manufacturing partner ensures precision, quality, and optimized production costs. Contact Align Manufacturing today to discuss your casting needs and find the perfect solution for your next project.

